How To Make Your Planner Look Pretty
Most people think of planning, and they think functionality. That’s the whole point of having a planner, right? To get yourself organized, and productive and to make sure you show up on time. Well, I’ve seen A LOT of videos online (mostly on Youtube) where people show off their planners (including me!), and they’re gorgeous, beautiful and still include all the organization and functionality. So how do you do this you might ask? Keep reading to find out!
Ok, so you’ve picked your planner, filled it with inserts and are ready to start. Now what? My first tip is to organize and make sure you’ve got the functionality of your planner first. There’s nothing worse than buying all the things, spending all that time, energy and money in putting it together, and then not using it. Establish routines so that you have your planning time down to a science.
So now, if you’re using your planner, you might want to start decorating. Here are some ideas and things you can add to make it pretty, and get that “YouTube” or “instagram” worthy planner!
Sticky Notes: besides for still being functional, you can purchase very cute sticky notes. You don’t even have to go as far as Etsy anymore to do it. Post-it brand sells cute versions at your local Walmart. Either stick it straight to a page, or use the dashboard method - buy a plastic dashboard, or use a plastic divider, and title it your “Inbox” and you can add notes to the page and then go back later and put the information where it belongs. Also, you can attach certain sticky notes with paper clips or other clips which we’ll talk about in a moment.
Paper Clips: These used to be strictly for functionality, but now, paperclips come in all shapes and sizes. You can get them from Etsy shops in different shapes, or even words. I have some rose gold small paperclips that are really pretty to attach decorative pieces to your planner. Another option are magnetic clips (Oliblock has a large variety of these, and are one of my favourite places to get them from - they are named Oliclips). You can use these for decorative purposes (attaching journaling cards or sticky notes to your planner dashboards or dividers), holding necessary documents in your planner, or even as a pen holder.
Quote Card from Cloth and Paper attached with a rose gold paperclip
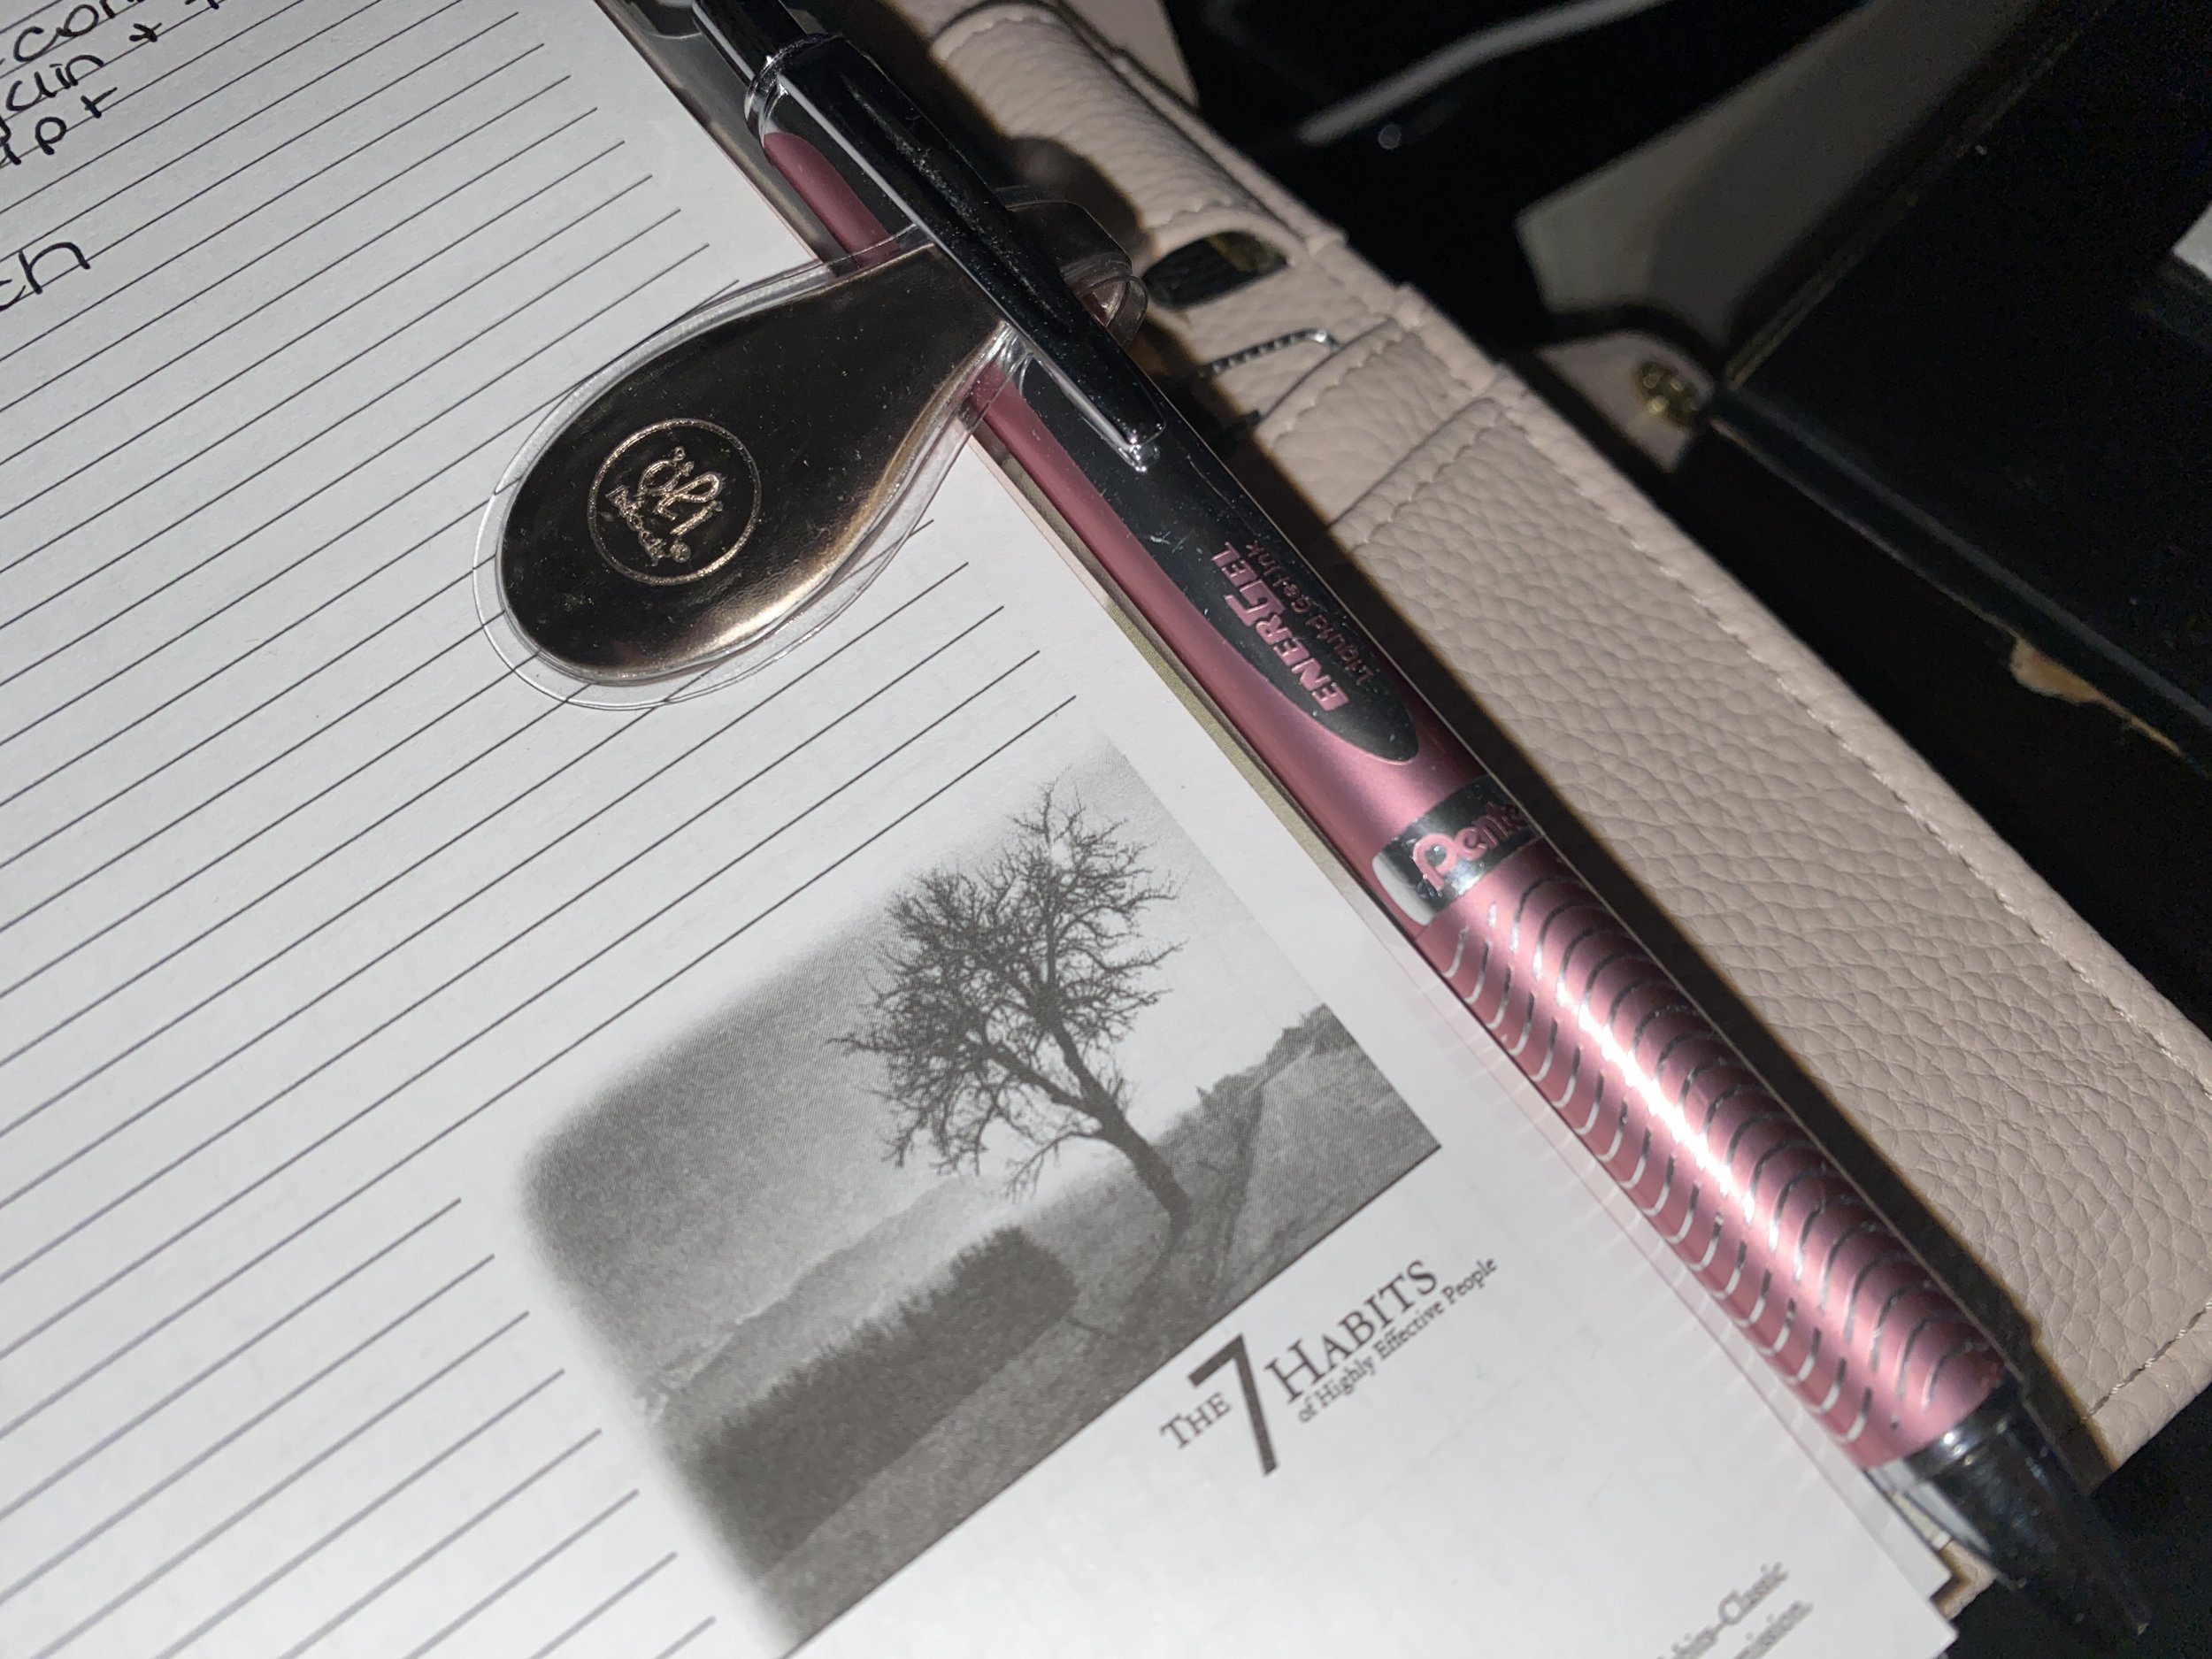
3. Different Pens or Markers: Some planners have pen holders (like the Franklin Covey binders), or like I mentioned above, you can use a magnetic clip to hold a pen on your planner. If you choose to use a decorative pen, it can help to add some cuteness to your panner.
This Oliclip is holding my Pentel Energel Pen in place
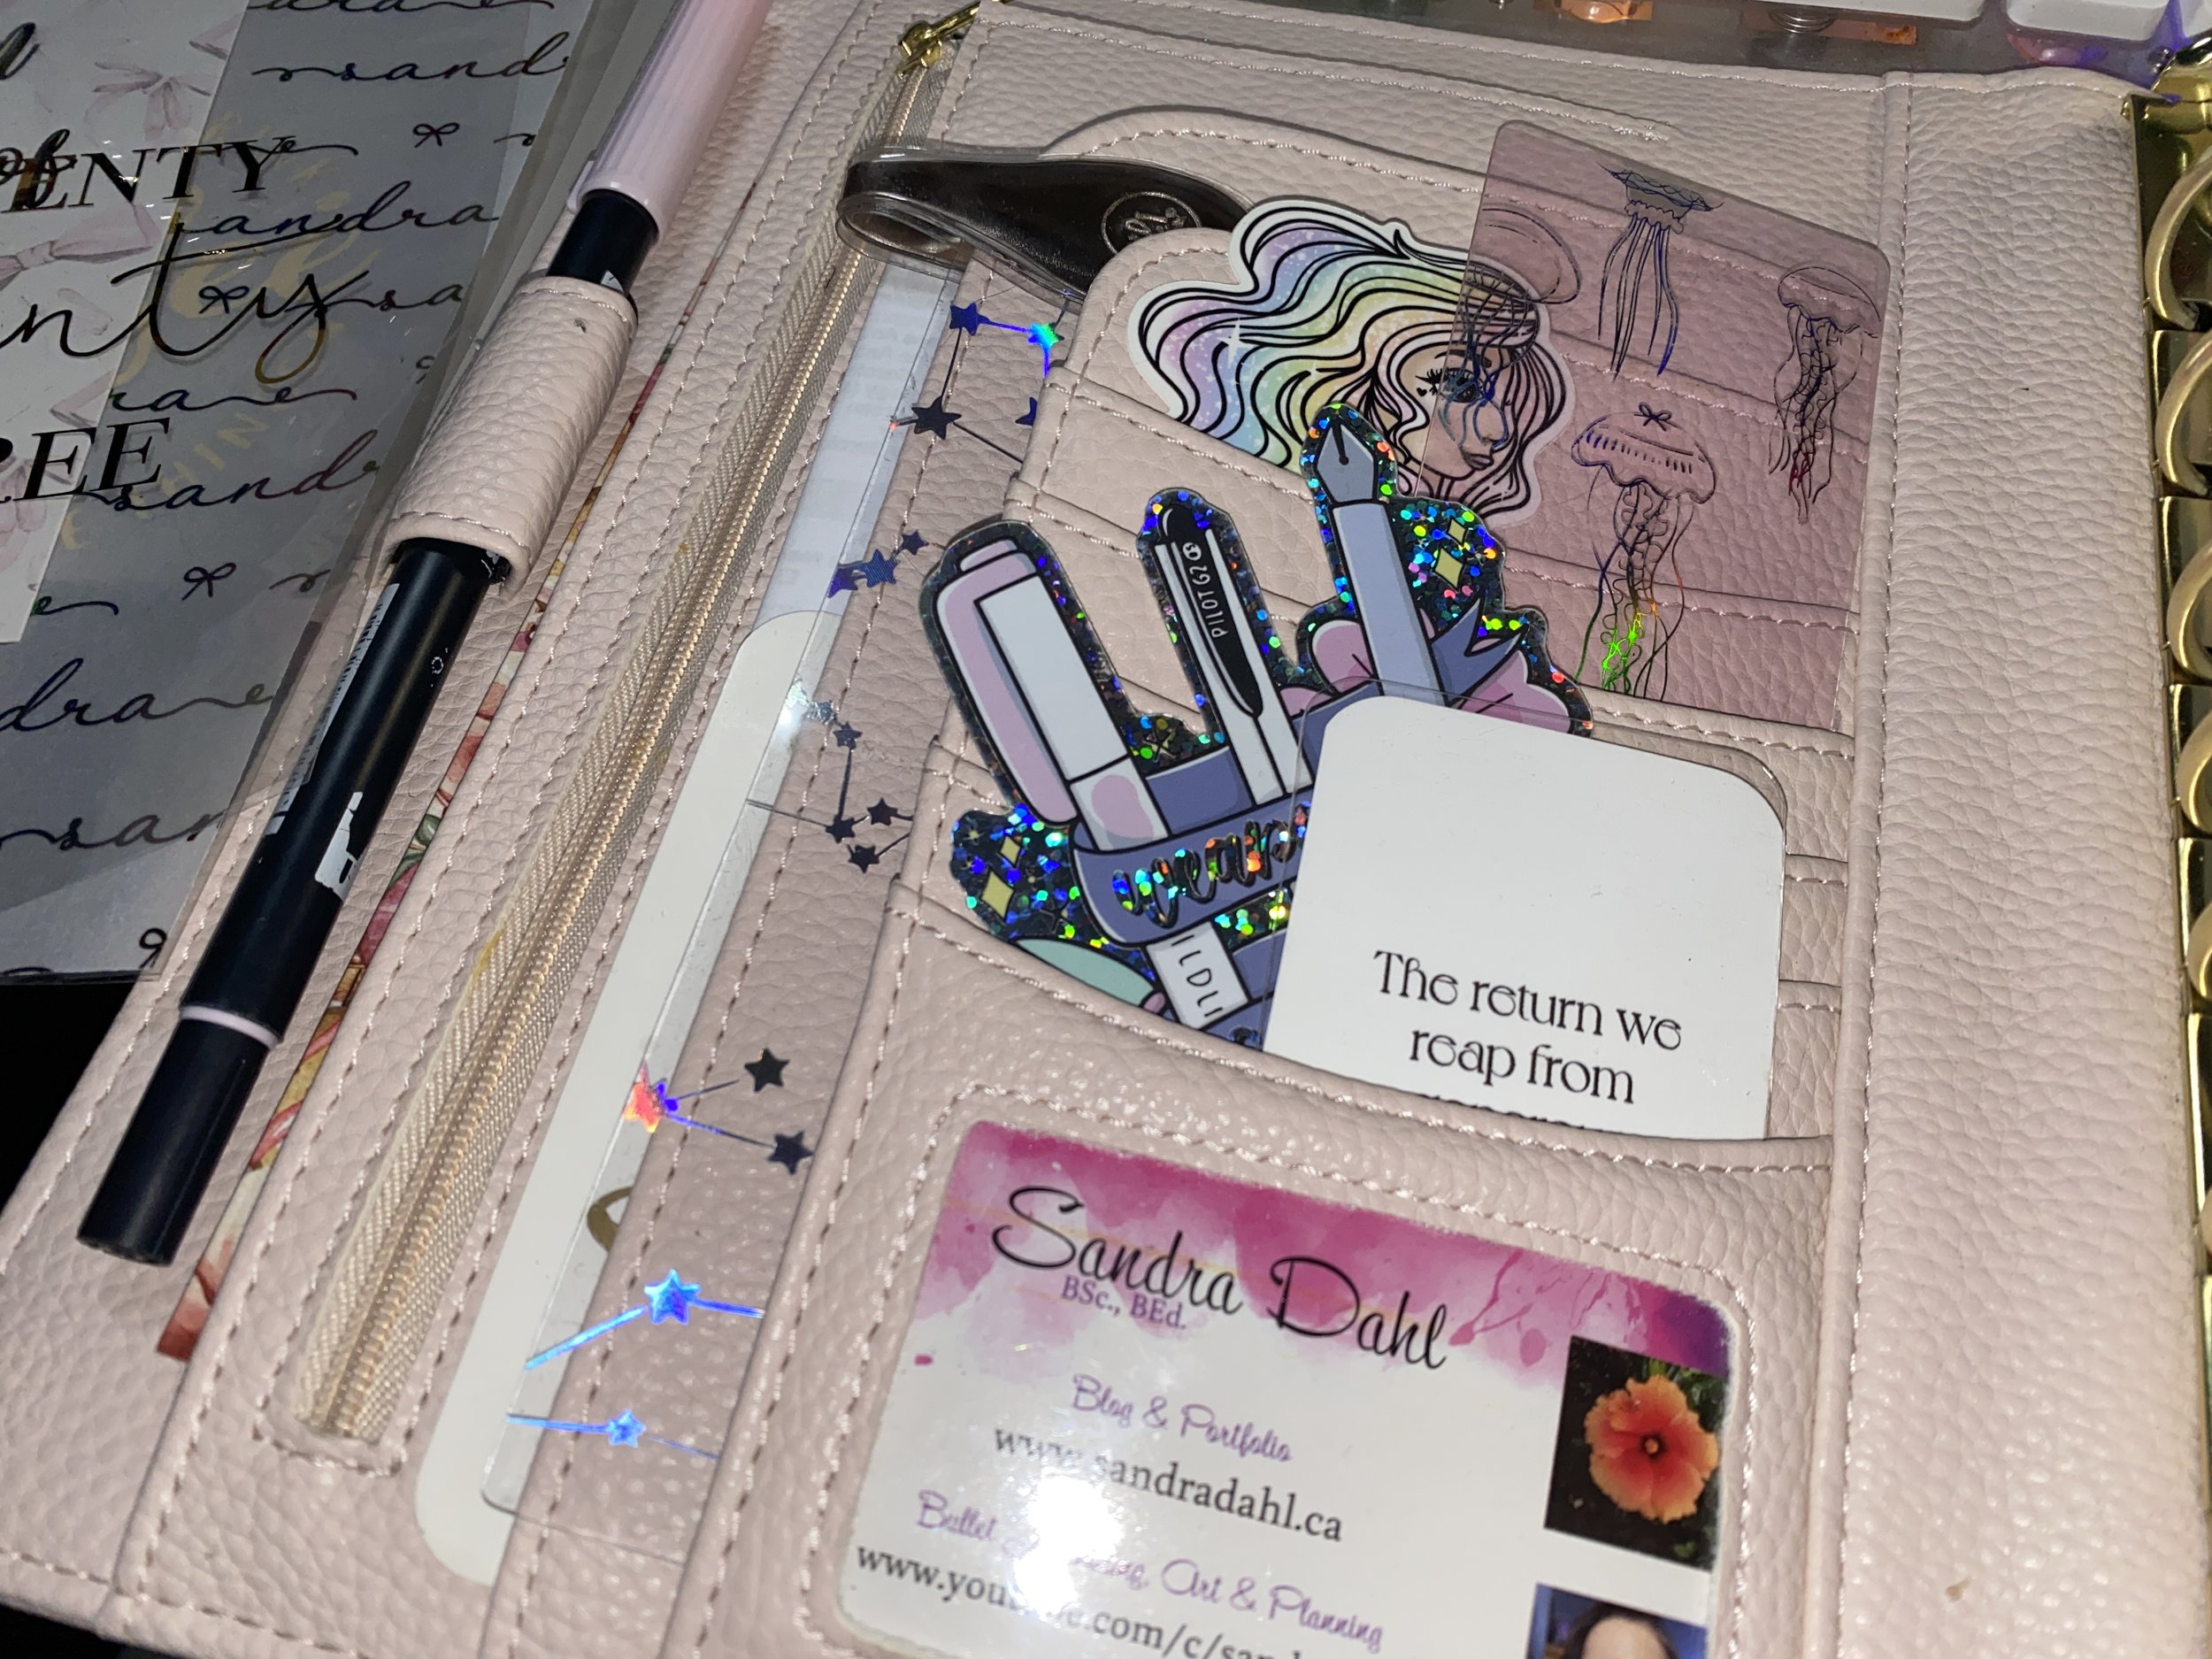
4. Dashboards: Many planner companies and small businesses (on and off Etsy) sell dashboards for your planner. I’ve received some from Cloth and Paper, Janes Agenda, and HeatherBco. You can also make your own using stickers, card stock from your local craft store and simply cut it down to size to fit your planner.
Dashboards from HeatherBCo on Etsy
5. Journaling Cards: People use these to send as post cards, to actually journal on, or as decorative pieces in your planner. A good idea is to write a memorable quote on the journaling side and then clip it into your planner with a paperclip or magnetic clip. Not only will you have the benefit of the quote you decided to pick, but you can also look at the pretty decorative side of the journaling card every day.
Journaling card from Cloth and Paper
6. Stickers, Washi Tape & Die Cuts: These are a given, because they are obviously one of the most decorative things you could add. Die cuts are fun because you don’t have to actually use them as a sticker. You can add them to pockets with the sticky backing still on them.
7. Decorative Cards/Notes: These work the same as journaling cards, except they might be different sizes and they will only be decorative in nature. I even cut down dashboards from a Happy Planner Mini once because I liked the designs so much!
8. Planner Charms: Planner Bling! I make some of these in my shop, but there are many companies who sell these. You can sometimes get custom charms made, or, decide between jumbo paperclips or lobster clasp type charms. The sky is the limit here!
9. Pictures: You can add pictures to your planner with either clips, Washi tape, or stick them in a photo holder! Franklin Planner offers a plastic photo holder that holds four small pictures. You can print pictures from a HP Sprocket Photo Printer (the size is 2 by 3 inches). The photo paper has a sticky backing and you can stick it to almost anything! You can also simply Washi or glue in mini polaroids for that fun touch, and, it really personalizes your planner.
There are so many things you can add or do to your planner to make it pretty and personalize it to how you want. The ideas I shared above are just a few ways you can add some charm to your planner.
Thanks for reading and we’ll see you next time!
🌸 San


